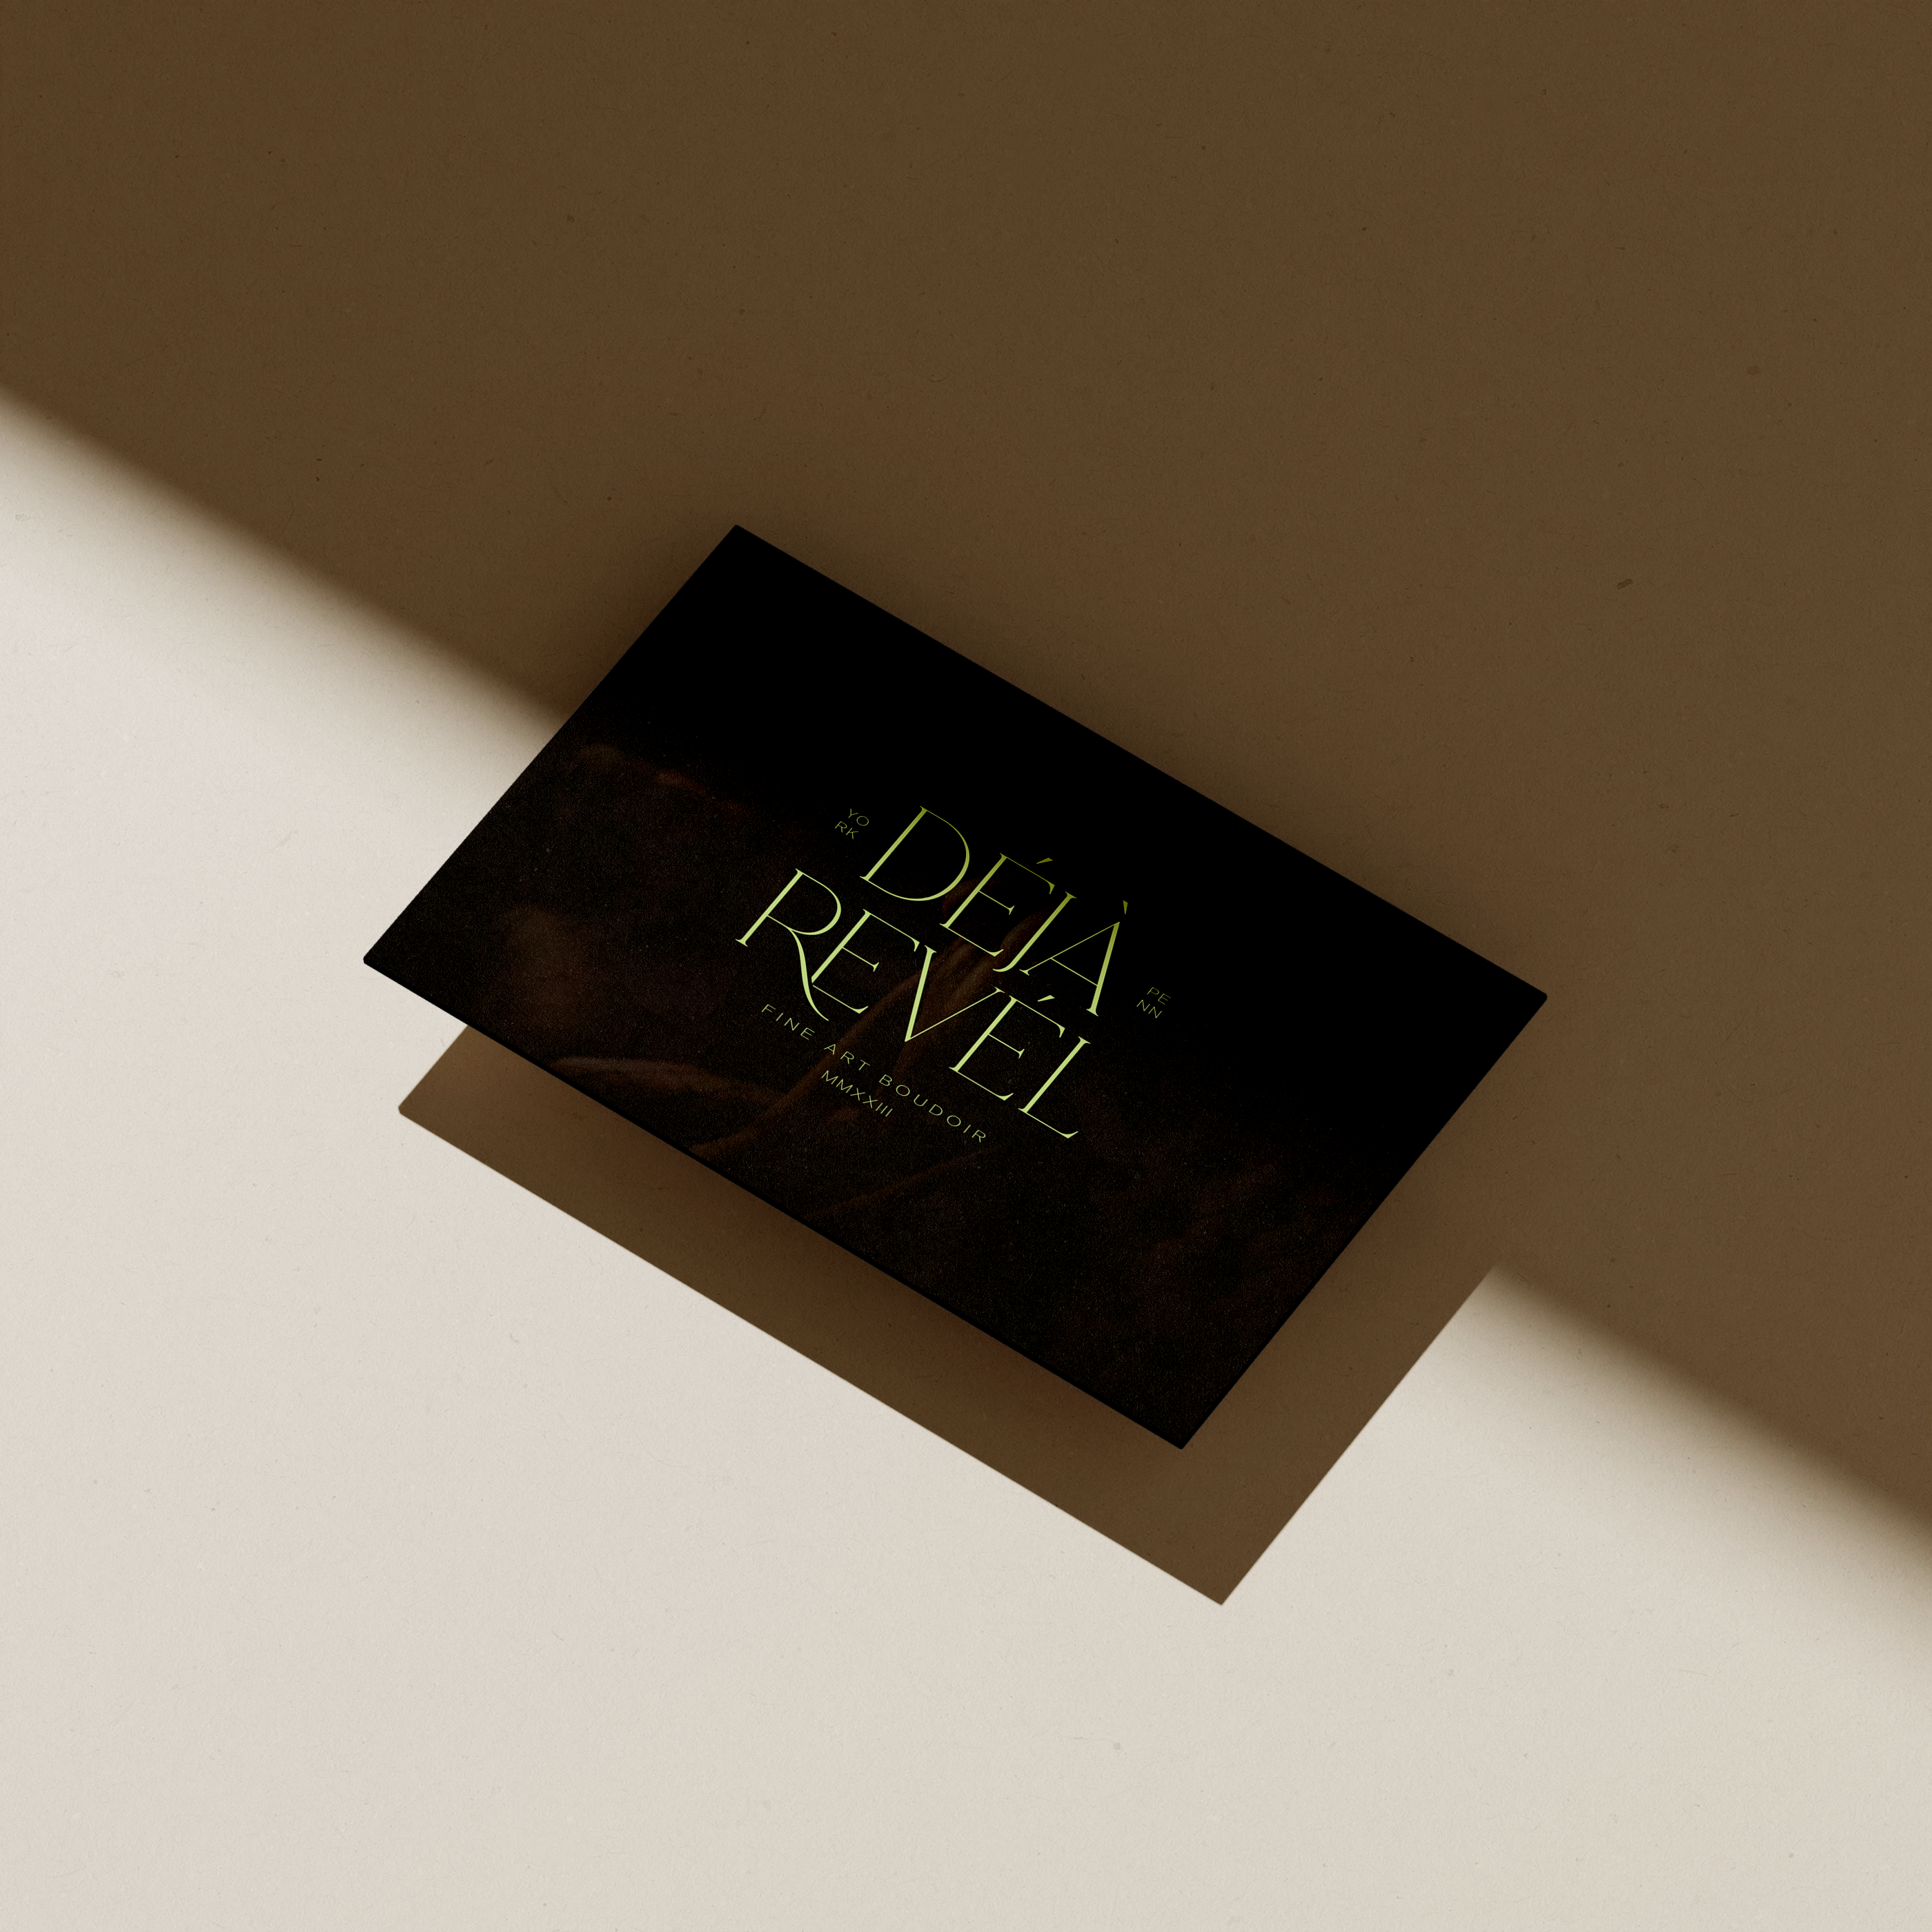
So, you have a beautifully on-brand design… Now it’s time to bring it into the real world. While I handle the design, you get to choose the printing details that feel most aligned with your brand—from materials and finishes to the final production process.
Whether you’re printing business cards, packaging, or signage, here’s what you need to know to ensure a seamless printing experience.
Step 1: Choosing the Right Printer
The quality of your final product depends largely on the printer you choose. Here’s how to find the best fit:
- Research Your Options – Look into both local print shops and online printing services. Each has its pros and cons—local shops offer more hands-on communication, while online services can be cost-effective and efficient.
- Check Reviews & Samples – Ask for sample prints, review portfolios, and confirm their experience with projects similar to yours.
- Confirm Capabilities – Not all printers can handle every request. Check that they offer the paper thickness, finish, and specialty options that your design requires.
- Communicate Clearly – Talk to your printer about your project’s details. Many print specialists can recommend the best paper stock, finishes, and printing techniques to match your design’s intent.
Recommended Printers for General Printing Needs
If you’re looking for a reliable printer for business cards, postcards, packaging inserts, or other branded materials, Moo.com and Vistaprint are two solid options.
- Moo.com – Ideal for premium, high-end printing with a focus on quality materials and unique finishes. They offer options like extra-thick cardstock, gold foil, soft-touch finishes, and rounded corners, making them great for luxury branding and elevated collateral. Get 25% off your Moo order with this link.
- Vistaprint – A more budget-friendly option with a wide range of products, from business cards to promotional materials. While their standard options are more affordable, they also offer upgrades like textured paper and special coatings for a polished look.
Both offer small batch ordering, so you can test different finishes before committing to a larger run. If you’re unsure which one fits your project best, check their sample kits to compare paper types and finishes before making a final decision.
Step 2: Preparing Your Files for Print
To ensure your design prints exactly as intended, proper file preparation is key.
File Types to Submit
- Adobe Illustrator (.ai) – This is your original, fully editable file. If adjustments need to be made, your printer will likely need this format.
- PDF (Print-Ready) – A high-resolution, flattened version that preserves the design’s layout and ensures no unwanted edits occur.
Understanding Bleed & Trim Marks
When reviewing your design file, you may see colored lines extending beyond the edge of your layout.
- What is Bleed? – The bleed area extends slightly beyond the final trim size. This ensures that when the paper is cut, there are no unintended white edges.
- Will the Colored Guides Print? – No, these are purely for setup. Once printed and trimmed, only your design remains.
If your design includes full-bleed (full-width) elements—such as images, color blocks, or graphics extending to the edges—this step is important to make sure everything is printed edge-to-edge.
Step 3: Submitting Your Files & Finalizing Your Print Job
Once you have your final files, it’s time to submit them for production.
- Send Both the .ai and PDF Files – This allows the printer to work with the editable version while ensuring the final output matches your vision.
- Confirm Paper Stock & Thickness – Printers typically offer a range of options. Choose a material that aligns with your brand—whether that’s a luxe, textured paper or a sleek, high-gloss finish.
- Specify Finishes & Details – Discuss any specialty requests, such as embossing, foil stamping, matte or gloss coatings, or unique die cuts.
- Confirm Quantity & Timeline – Make sure you have a clear understanding of the turnaround time and costs before approving the print run.
Final Thoughts on Printing Your Brand Designs
Printing is the final step in bringing your design to life, and when done right, it elevates your brand’s presence. By choosing the right printer and working with them to choose the materials that best suite your brand, you ensure a seamless experience from digital design to a high-quality, real-life product.
If you have any questions about your print files or need guidance on selecting the right materials, I’m happy to help!
P.S. If we’re not working together (yet), I’ve still got you covered.
For more brand strategy, storytelling, and design resources to grow your business in 2025, click here to visit my Freebies page where you can snag the free storytelling guide for brands. This page is full of free downloads, design recommendations, the best business tools for running your business, as well as curated playlists for brands I’ve built. (Playlists are kind of my thing.)
For more support with the strategy and intention behind your business, visit the Brand Strategy & Design Shop and connect with me on Instagram for all the latest storytelling tips, brand features, and untamed studio behind the scenes.


")


Read the Comments +